Time:2023-11-07 Preview:
1. Power on
After confirming that the CNC drilling machine has been powered on, press the green power button. At this time, you will see the "Speed" logo screen on the CNC system display screen, and wait for about 20 seconds for the system to automatically enter the operation interface.
2. Return to the machine tool origin
Press the "Machine Zero" button once, and the machine will automatically return to zero. (It should be noted that there is no need to press any button during the machine tool reset period until the reset light on the CNC system lights up normally and the reset action is completed.).
3. Tool clamping, centering, and tool alignment
After confirming that there are no foreign objects inside the elastic chuck, install the tool into the chuck and nut, and lock the tool with a wrench.
In the handwheel mode, press "Position" to enter the relative coordinate interface. The handwheel controls the X-axis or Y-axis to move to the reference end, clears the X-or Y-axis, and controls the X-or T-axis to move to the other end of the workpiece reference. Press the X-or Y-axis again to center, press "Machine coordinate G54-G59", and then press "Record machine coordinate" to complete the center.
In the handwheel mode, use the handwheel to control the Z-axis to the surface of the workpiece, press the cursor to select "Z", and then press "Enter machine coordinate" to complete the tool setting.
4. Editing programs
Using a CNC machining center control system, the system supports computer software programming and manual programming, as well as automatic generation of machining programs by importing CAD drawings.
5. Program Trial Run
In order to prevent program errors and tool alignment errors from causing machine collision accidents, we can first simulate machining by running in the air. Firstly, raise the spindle to a safe height, and then start simulation processing. After the simulation processing is completed, confirm that the program and tool setting are correct, and then start processing the parts. After the processing of the first part is completed, self inspection is carried out first. After confirming that it is qualified without any errors, a dedicated inspector is appointed for inspection. After the dedicated inspector confirms that the debugging is completed.
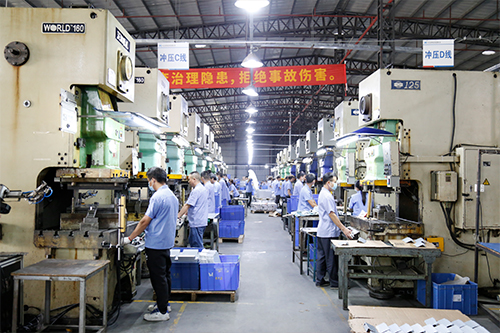
6. Reading programs and executing machining
Find the edited program in the "Local Directory" of the system that needs to process the current workpiece, select it, and execute the program. Press "Auto, Start" to automatically run the machine tool and process according to the program.
7. Machine tool cleaning
After processing, there will be many iron filings and oil stains left on the machine tool. The machine tool should be cleaned promptly after use. Firstly, remove the iron filings from the machine tool, and then wipe the workbench and fixture with a semi dry cloth. If not in use temporarily, spray some rust proof oil to keep the machine tool and the environment clean. Then, check the condition of the lubricating oil and coolant, and add or replace them in a timely manner.
8. Shutdown
Before turning off the power, pay attention to checking the status of the CNC machine tool and the position of each component of the machine tool. Turn off the power supply of the machine tool first, and then turn off the main power supply.
 Related News
·Tips for Metal Spraying Processing in Spraying Factory ·Precautions for aluminum spraying process of hardware ·What are the advantages of automatic hardware spraying of hardware spraying factory? ·Mold drilling center compared with the traditional cutting method ·Die casting performance of hardware die casting factory ·How many types of CNC lathes are processing? ·Equipment characteristics and daily maintenance of CNC tooth rolling machine ·Where does the CNC refined carving machine manufacturer's refined machine maintenance need to start? ·CNC processing process ·How to process the mold for mold processing center
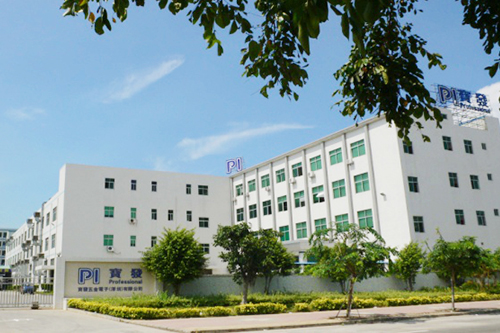
 No. 8 Huaxia Second Ring Road, Qiaotou Town, Dongguan City, Guangdong Province
 +86 755 2723 0088 Ms. Xie
 +86 755 27230373


Products

About Us
Applications
Support
News


 CH
CH
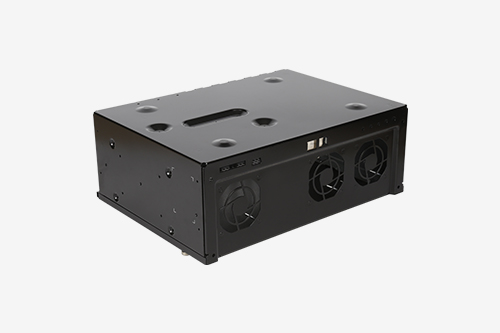
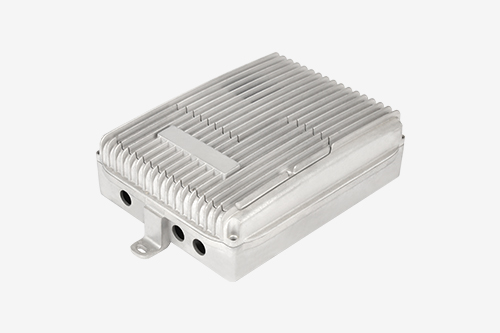
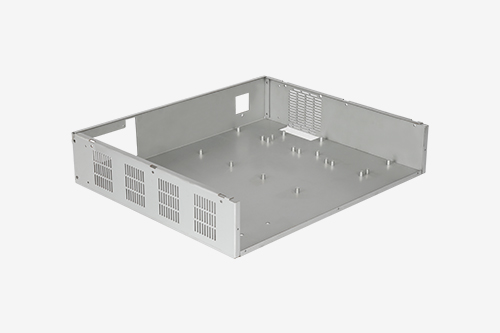
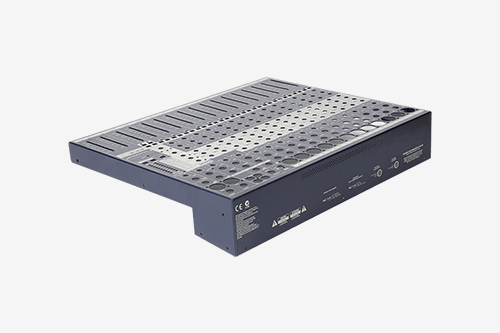
 Related Products